
I am a girl who always seems to loose their hairbands, and I can’t be the only one right? I don’t know what it is, I can buy a pack of like 20 and I’ve scattered them around the house like some kind of Easter egg hunt, however I have forgotten where I’ve left them. It was upon looking for one of these hairbands when I had the idea of being able to customize my own scrunchies. 14 year old me, taking up Textiles for a GCSE and hating it, would have never of thought I would then have worked in embroidery for nearly 10 years, love it, and then have a go at customizing her own hairbands. It’s funny how life turns out, and the things you once hated, you sometimes go on to enjoying! I decided to go on Amazon, as they are perfect for crafty bits and to buy items in quantities. They had lots of different styles, colours, sew on bits on there but in the end I settled for these daisies and black scrunchies, perfect for Spring and the upcoming Summer months!
What made me choose scrunchies was the fact that not only are they back in fashion, but they are something you can wear all year round which makes them very sustainable and they are the chosen accessory perfect for a quick fix to get hair out of your face! They really are a staple in life and there is no need to reach for something plain anymore. Scrunchies are also better for your hair than a normal hairband as you won’t get headaches from wearing one all day, plus, they won’t cause breakages like an elastic hairband, making them healthier for your hair. With a scrunchie, it allows you to get more volume in your ponytail and with one designed by yourself, it creates a statement look. If you can’t quite find one in the shops you’re looking for, it’s just as easy to customize your own, don’t let the sewing put you off. It does make me smile how things from different decades keep crawling back into the present day. Some things should probably stay back there but scrunchies are something that definitely shouldn’t. My boyfriend actually keeps one of mine in each of his cars around the gear stick, which is quite sweet, so they can be used for many different things!
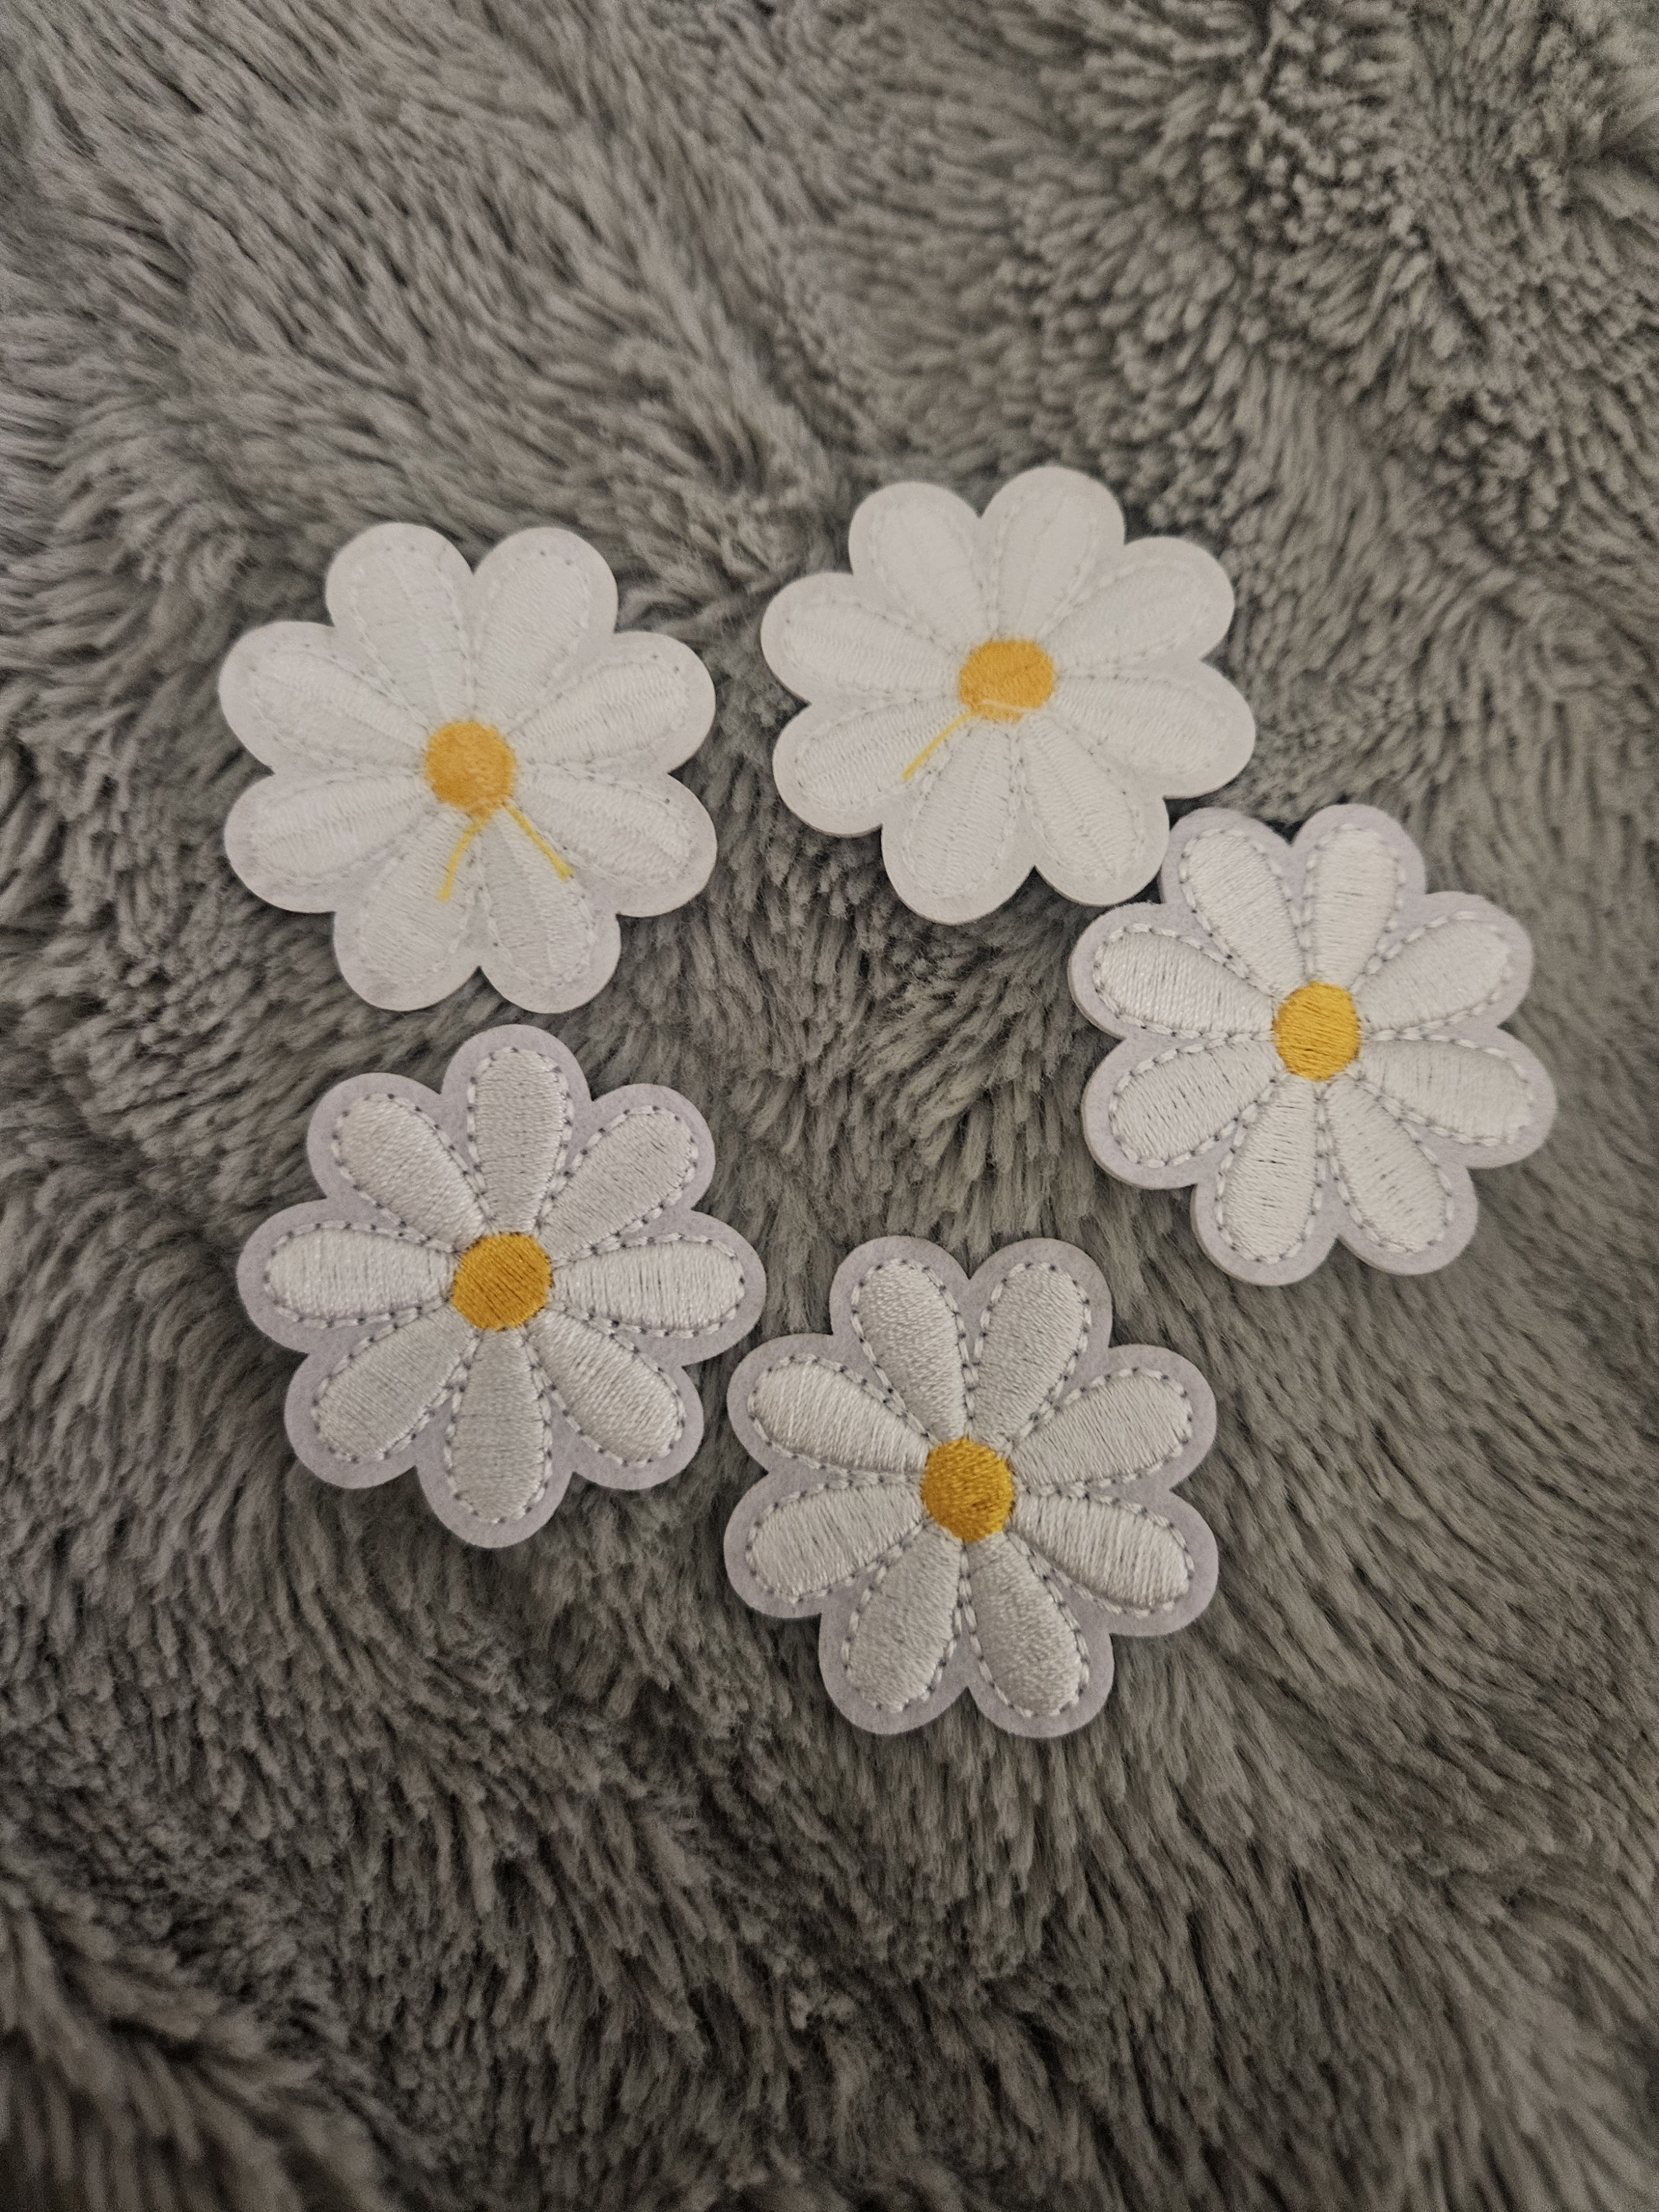
I did already have the needle and thread but for the 6 scrunchies they came to £3.59 and for 20 daisies at £2.99, it meant that I could make 6 personalised daisy scrunchies for around £1.10 each. Compared to what you can pay at the shops, I was very pleased with this. All I did was get some white thread and sew around the outline of the daisies. It was quite therapeutic actually and I’m tempted to look at what other things I can get to decorate the scrunchies with. These would make a lovely gift idea, or a fun activity to do with your friends or your children, minus the sewing part, but you could always go out to a craft shop with them, let them pick out what they would like on the scrunchies, you could even find some letters that are the beginning of their name and stitch them on. How cute would that be?!It’s also an activity that is perfect for a rainy day! The possibilities are endless and it would be fun to see what everyone comes up with if there is a group of you.
The sewing part was a little tricky as I didn’t want the stitching to show, so I had to be careful that I was sewing into just the inside of the scrunchie and then back out, as sewing straight through to the other side would have not looked pretty! After some time though it got easier, as getting the hang of these kind of things is just a case of repetition and a bit of patience whilst you get used to what you’re doing. I just did a basic stitch, nothing fancy as it wasn’t needed, and I know the stitching isn’t perfect but I’m proud of the outcome. I followed around the edge of the petals as a guideline. I could have gone smaller distances apart from each stitch, however I’m not overly bothered as you’re not going to see this from a distance when I wear them. Like I said it’s just practice and once you’ve personalised one scrunchie, you can find out things you want to change when it comes to doing the next one or techniques that you will keep.

Once you’ve finished one, you’ll get the bug to start doing more, and you don’t have to have a background in embroidery like I do to be able to do this. You are literally just moving the needle in and back out of the material and once you’ve reached the end of what you are sewing on, make sure to do a few overlapping stitches just to secure the decoration in place so it doesn’t come undone. I never thought it would be so hard to describe how to sew but I’ve never been overly great at explaining things, so hopefully that makes sense! One thing worth noting as well is, just bare in mind the material of your scrunchie. Most scrunchies are quite a thin material anyway, but the thicker the material, the harder it will be to get the needle through. Ideally I would choose a silk material or a polyester type of material, as it’s quite stretchy, so it gives you more room to maneuver around with however you don’t have to limit yourself to just those types. So now I have tried to sell the idea of customizing your own scrunchies for the best part of 5 minutes, (haha, just kidding!) hopefully I have inspired you in some way to give it a go!
How would you decorate your scrunchies?
Amy x
